
|
|
|
#16
 01-30-2010, 04:19 PM
|
||||
|
||||
|
Me too. I love your restoration play-by-play!

|
|
#17
01-30-2010, 07:51 PM
|
||||
|
||||
|
Quote:
Quote:
Not that I'm done yet - it's that last 5% that's the killer  All my Admiral sets have that same blue/black ion trap magnet - remember the blue goes towards the face! Yes, I'm just careful with the rust remover. Some brands are very fluid and it can drip all over. Naval Jelly is very viscous and tends to stay where you put it. It only took about two hours to clean up the front. Two coats of jelly, wipe it down with a damp sponge, dry it off with a paper towel, then a final rub down with WD40. Quote:
 I recorded some video last night while I was working on this set, but I need to do a lot of editing before I can post it. Stay tuned... Last edited by bandersen; 01-30-2010 at 08:02 PM.
|
|
#18
01-30-2010, 11:21 PM
|
||||
|
||||
|
Quote:
Anyone ever coming through VA can stop by and take home some really decent sets and perhaps some NOS spare parts. Oh, and I can not believe the way that Naval Jelly makes a chassis look! This makes me want to take apart every old radio and TV that I have and apply that stuff. It looks sand blasted! I have used steel wool a time or two, but it really wasn't worth the time and effort. This looks do'able bigtime! GREAT tip! 
|
|
#19
01-31-2010, 01:42 AM
|
||||
|
||||
|
Quote:
It's also a much greater challenge to get one of these setts running smoothly.As for space - yeah I think most of us are stuffed. I have 6 sets out on the back porch because there's no more room. I won't be getting any more sets until I move to a bigger place or sell a few. I really can't bring myself to part with any though. One important think I need to mention regarding chassis. Some chassis, and transformers are cadmium plated. Usual they go a bit white/green/yellow over time. Naval Jelly and rust removers in general can clean the cadmium oxide up very well, but it's very toxic and produces nasty fumes! Please wear gloves and have good ventilation if you're going to attempt it. I've been using non-conductive abrasive pads too. I've seen them sold as a finish stripping pads sometimes. They work as well as steel wool, but without all the little metal bits that can work their way into everything. BTW this is actually the chassis from another set.  It's going to get stinky      Neutralizing with a mild detergent 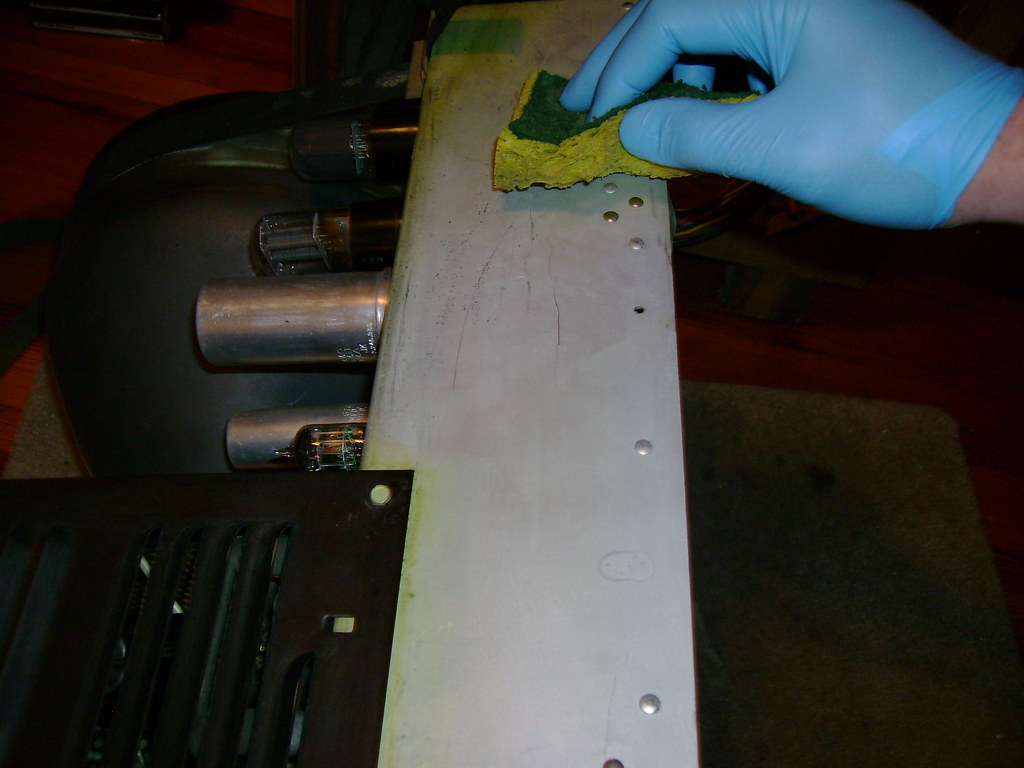 Next, a little Simichrome metal polish  Final results. Elapsed time about 20 minutes. I'll save the rest of the chassis for another day. 
Last edited by bandersen; 01-31-2010 at 02:52 AM.
|
|
#20
01-31-2010, 01:51 AM
|
||||
|
||||
|
Videos up on YouTube
I finished editing the footage I recorded last night an uploaded them to YouTube. Enjoy.
Part 1 - first power up: http://www.youtube.com/watch?v=FDtS1YuHQGE Part 2 - trying out the 12LP4: http://www.youtube.com/watch?v=0UooEyKTiYU
|
| Audiokarma |
|
#21
02-10-2010, 02:30 PM
|
||||
|
||||
|
More chassis work
I'm just about done with the rest of this set. The audio is still weaker than I'd like, but at least I have some.
This nasty splice wasn't helping  That explains all the noise! That explains all the noise! I'm not sure what impedance coax to replace it with, but maybe it doesn't matter much at audio frequencies ? I wonder if anyone carries cloth covered coax ? 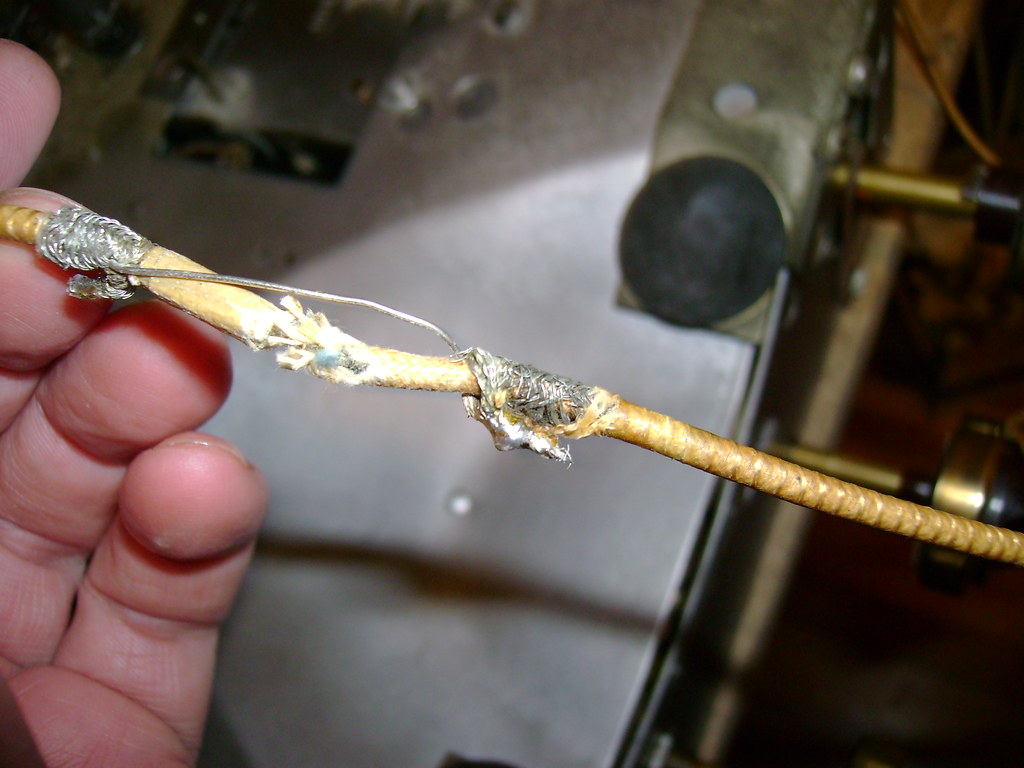 I'm just about done with the lower chassis too. I used a mini-hack, heat gun and corkscrew to gut those capacitors. It's less messy than the Dremel with cutoff wheel I had been using. 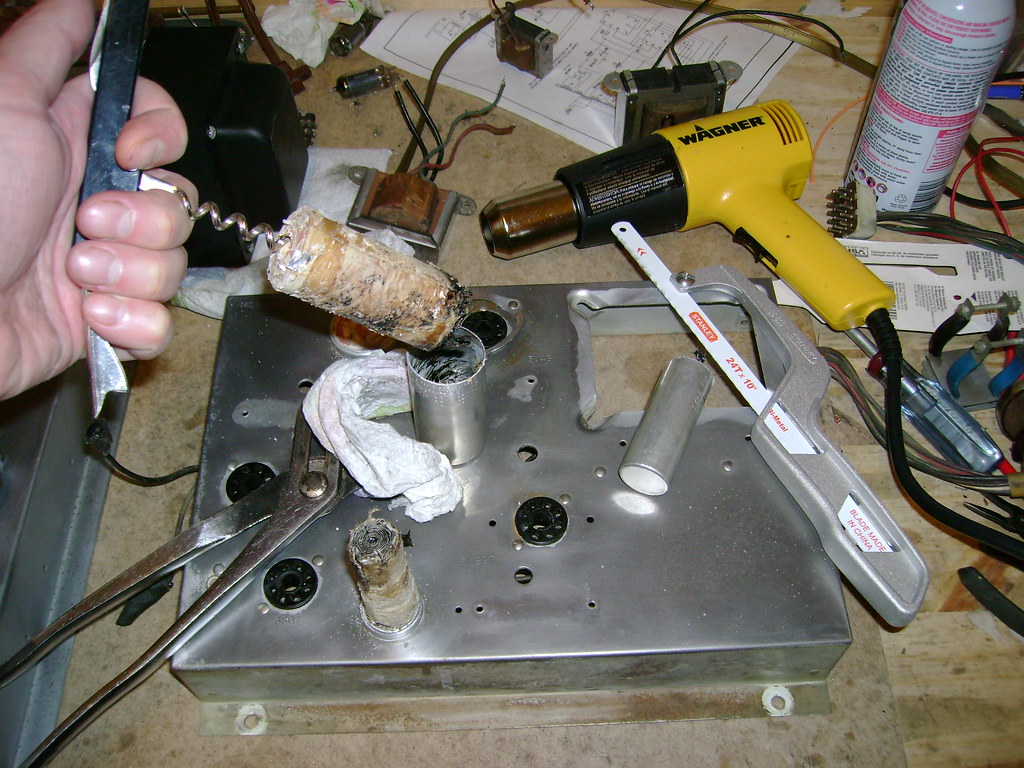 I also discovered that the tuner was pretty dirty and rusty so popped it out and cleaned it up     Next up - re-coating the CRT dag and restoring the cabinet...
|
|
#22
02-10-2010, 07:21 PM
|
||||
|
||||
|
Aerodag
Has anyone tried this product to recoat a CRT ?
I did a little test on a dead compactron. It goes on easily and dries quickly. It's not nearly as conductive as a NOS CRT I have so I'll try another coat. I put it on pretty thin I think. 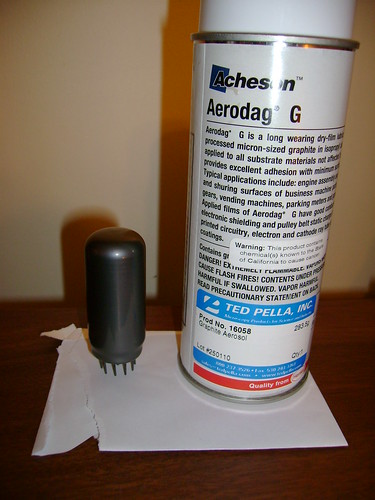
|
|
#23
02-10-2010, 07:40 PM
|
||||
|
||||
|
More fine work from the "Chassis Cosmetologist" !!!
You could eat off that chassis! Really spectacular work, I must say. Cheers,
__________________
Brian USN RET (Avionics / Cal) CET- Consumer Repair and Avionics ('88) "Capacitor Cosmetologist since '79" When fuses go to work, they quit!
|
|
#24
02-10-2010, 09:52 PM
|
||||
|
||||
|
Quote:
Phil
|
|
#25
02-10-2010, 10:16 PM
|
||||
|
||||
|
Were you able to buy a single can? I needed the brush on variety for work and they made me buy a whole case. I use it for mounting targets and only use a few milligrams at a time.
John
|
| Audiokarma |
|
#26
02-10-2010, 10:42 PM
|
||||
|
||||
|
Quote:
I'd like to give credit to the user that originally posted that link, but I can't remember who 
|
|
#27
02-10-2010, 10:52 PM
|
||||
|
||||
|
Quote:
John
|
|
#28
02-10-2010, 11:32 PM
|
||||
|
||||
|
Quote:
Thanks! LOL - "Chassis Cosmetologist" - perhaps I should update my tagline
|
|
#30
03-12-2010, 11:34 PM
|
||||
|
||||
|
Audio problem persists
I've got the video rock solid on this set but still no audio
 All I get is static which does increase with the volume control. I can also touch the volume control wiper and I get a hum. I've gone over the audio IF stages pretty thoroughly, so I decided to try aligning it by following these instructions:  Here's the gear I used. A 3 AAs soldered together for the -4.5v AGC bias voltage. An EICO 232 VTVM and a Hickock 615 sweep and marker generator. Finally, an HP 45600B scope and demodulator probe.  I think I did everything correctly. Here's the ratio detector response curve, but still no audio  Just a buzz that occurs when bright white portions appear in the video. Just a buzz that occurs when bright white portions appear in the video.I know it's backwards, but I think that's just the nature of my sweep generator / scope - the key points match up more or less.  Any ideas ? I bet it's something really stupid! Last edited by bandersen; 03-12-2010 at 11:55 PM.
|
| Audiokarma |
 |
|
|


 . Very, very nice work


 Linear Mode

