
|
|
|
#16
 06-16-2014, 05:35 PM
|
|||
|
|||
|
Actually, Gibson still makes (sort of) black beauty capacitors. Check out the link and the price: http://store.gibson.com/capacitors/ I still have trouble believing that someone isn't pulling our leg on this one.
Last edited by Joe Connor; 06-16-2014 at 06:51 PM. 
|
|
#18
06-16-2014, 09:18 PM
|
||||
|
||||
|
Quote:
If you look at the top of the chassis, you will see a tube shield! Jas.
|
|
#20
06-17-2014, 06:37 AM
|
||||
|
||||
|
Quote:
|
| Audiokarma |
|
#21
06-17-2014, 06:50 PM
|
||||
|
||||
|
Quote:
__________________
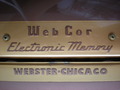
Tom C. Zenith: The quality stays in EVEN after the name falls off! What I want. --> http://www.videokarma.org/showpost.p...62&postcount=4
|
|
#22
06-19-2014, 10:13 PM
|
||||
|
||||
|
I'm too awful with lines so I seeked the professional work of my mom who learned how to do this kind of stuff since the 70's. The solution was as simple as a ruler, pencil and a gold pen. Goes on easily and gives the same appearance as if I sprayed it on but with far less prep work needed. Also easier to clean up of there is a mistake.
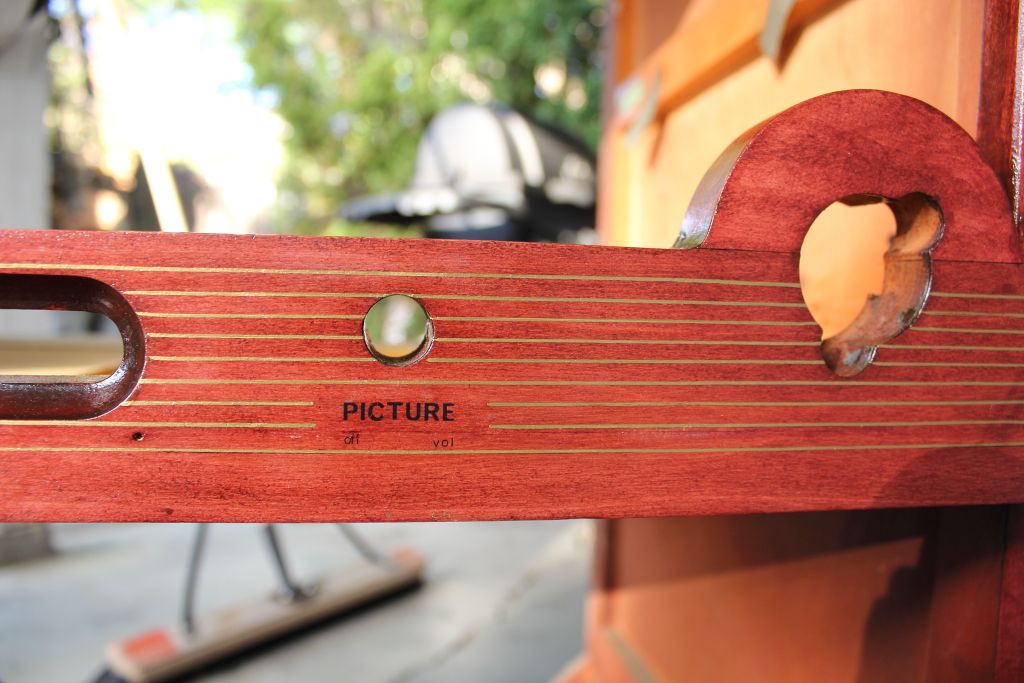 Okay, I'm not going to lie. The straight lines really show how badly the letrasetting was done. It can be fixed but seeing as there's a thin layer of varnish brushed over to prevent accidental scrapes it will take some effort. From a distance it looks better and you're probably going to view this from across a room so we'll let this pass. Meanwhile I've taken the glass pane and applied a thin layer of glaze as to reseal the painted surface. It qoes on opaque but dries clear. Once this has dried I will reassemble the cabinet completely and proceed to the chassis. 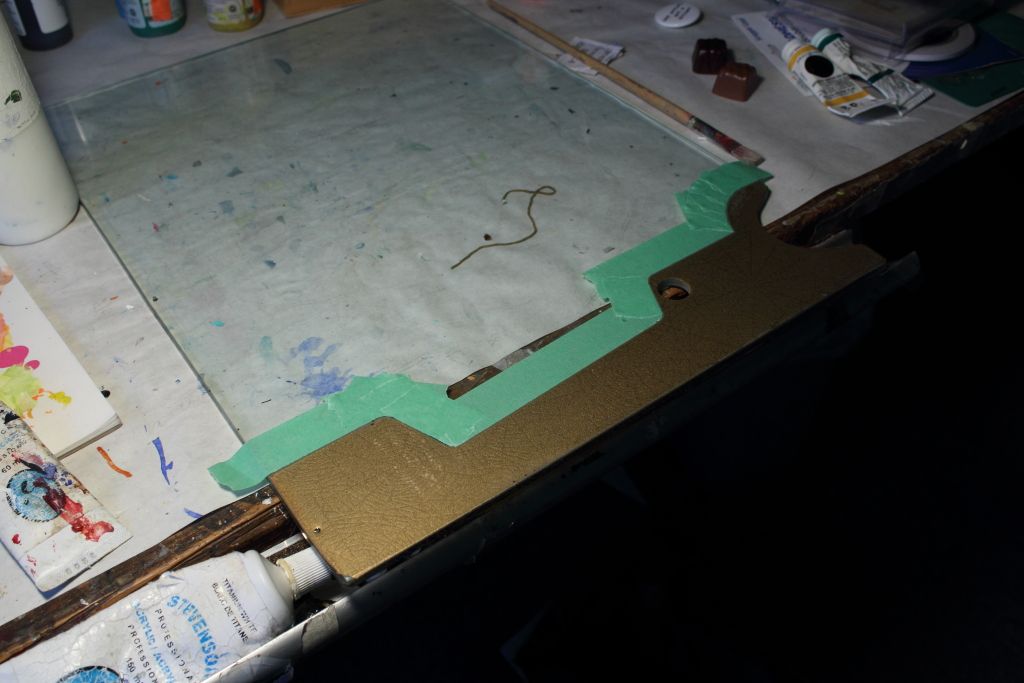 I have found no suitable material to replace the old bezel gasket. At this point I'm considering reassembing the set without it. 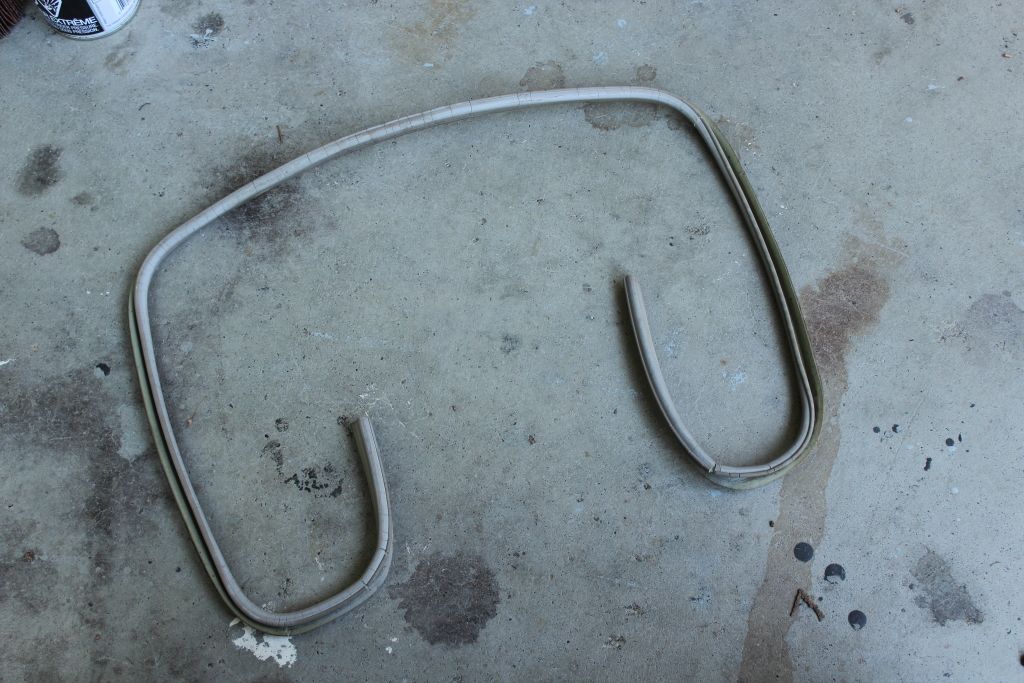 Also yes, the gasket has hardened into that shape. I did however find a suitable replacement for the green matting that was behind the AM tuning needle. Michael's had thin sheets of adhesive backed felt that I could cut to size and mount in place of the old sun damaged material. It's still thicker than the original material but it doesn't interfere with the needle. 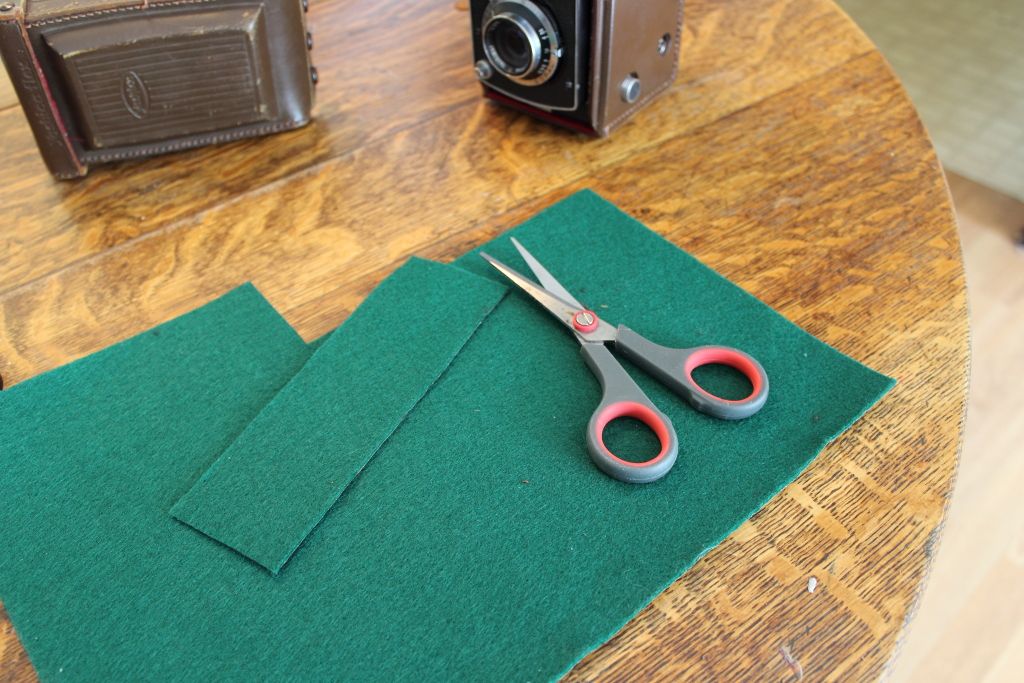 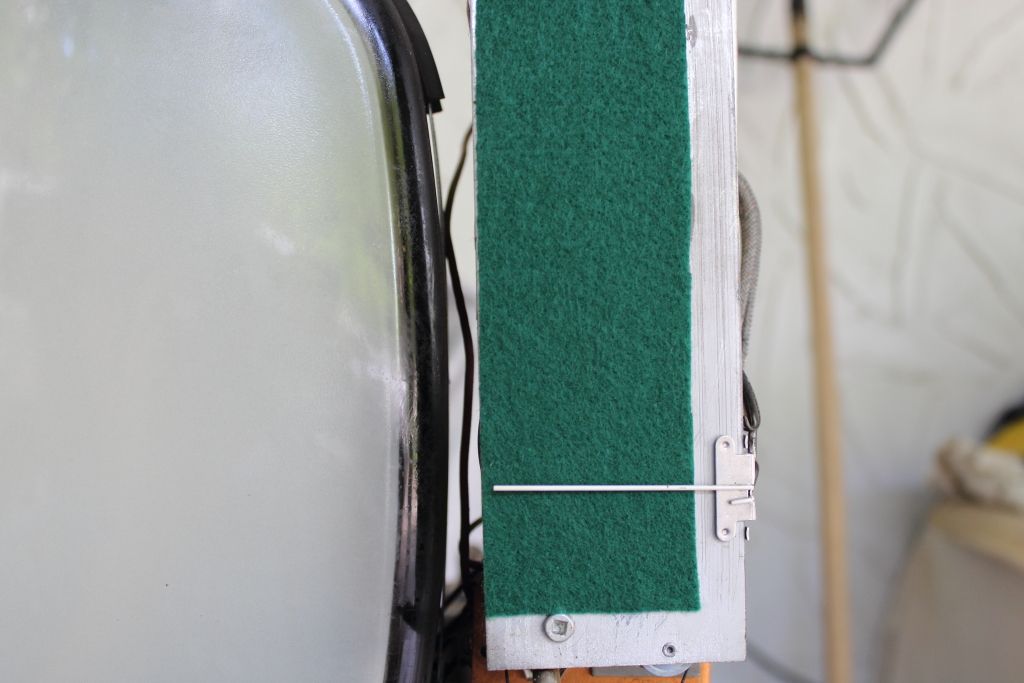 Edited:  Look closely at the old stripes and then count my new ones. I don't know how I fudged it but there's now nine lines instead of eight. Oh well. Lets just say they were always there. Last edited by MIPS; 06-20-2014 at 01:25 AM.
|
|
#23
06-20-2014, 12:29 AM
|
||||
|
||||
|
Not a bad job with the gold stripping and the general refinishing of the cabinet as well as re-lettering the control label. Seems to me the gasket is pretty much intact and w/the grooves can be carefully reattached to the mask as seen in the original photo. You might install the gasket upside down and have the rejoined ends at the bottom. Wishing you success as you tackle the chassis.
-Steve D.
__________________
Please visit my CT-100, CTC-5, vintage color tv site: http://www.wtv-zone.com/Stevetek/
|
|
#25
06-20-2014, 07:32 PM
|
||||
|
||||
|
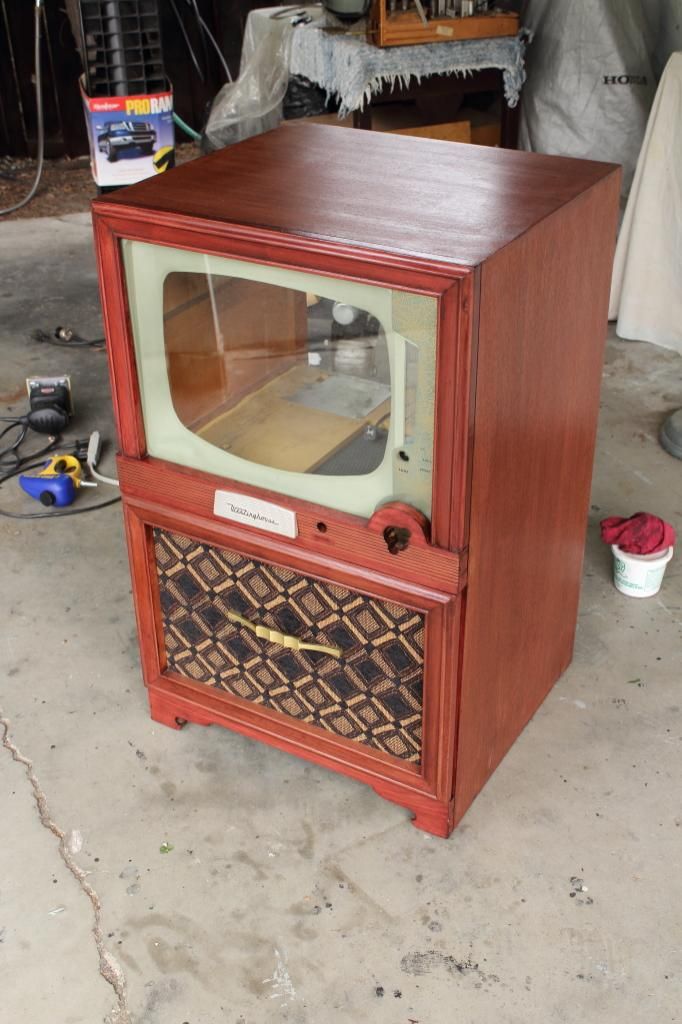
I reassembled the cabinet today so that part is finally done.
  Quote:
Anyways, now we can focus on the chassis. I know the local electronics shop here doesn't have any of the caps I need so I'll collect a parts list and when I'm down in Vancouver next week I can drop by Main Electronics which is probably the best electronics shop in British Columbia. They even have a tube tester! For now however I'll clean and test the tubes on my own bench and work on buffing up the chassis. Last edited by MIPS; 06-20-2014 at 10:57 PM.
|
| Audiokarma |
|
#26
06-30-2014, 11:16 AM
|
||||
|
||||
|
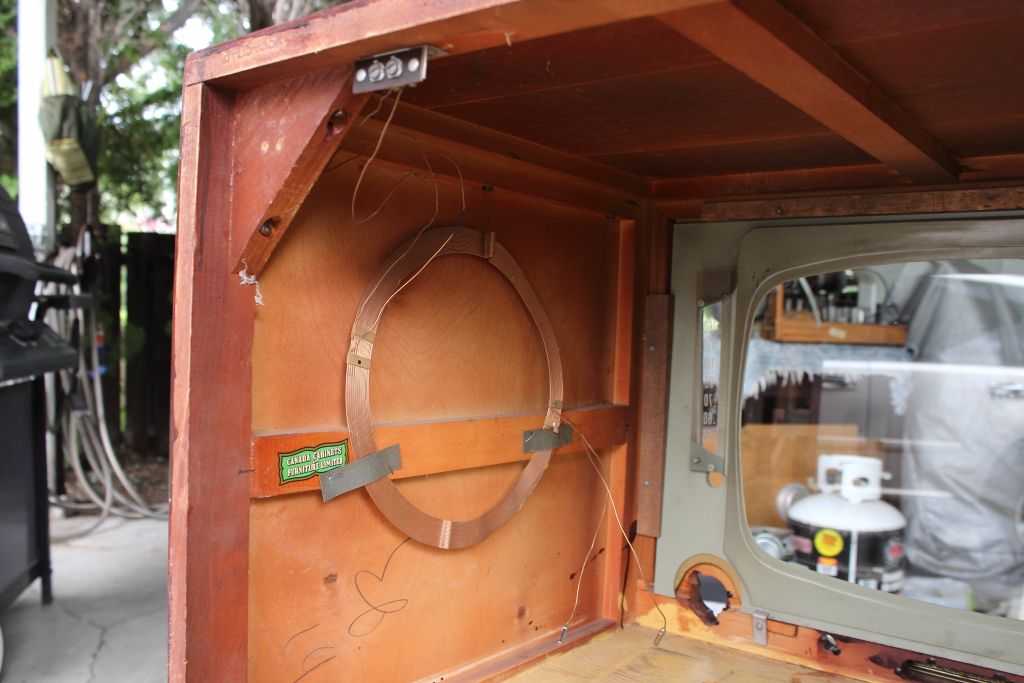
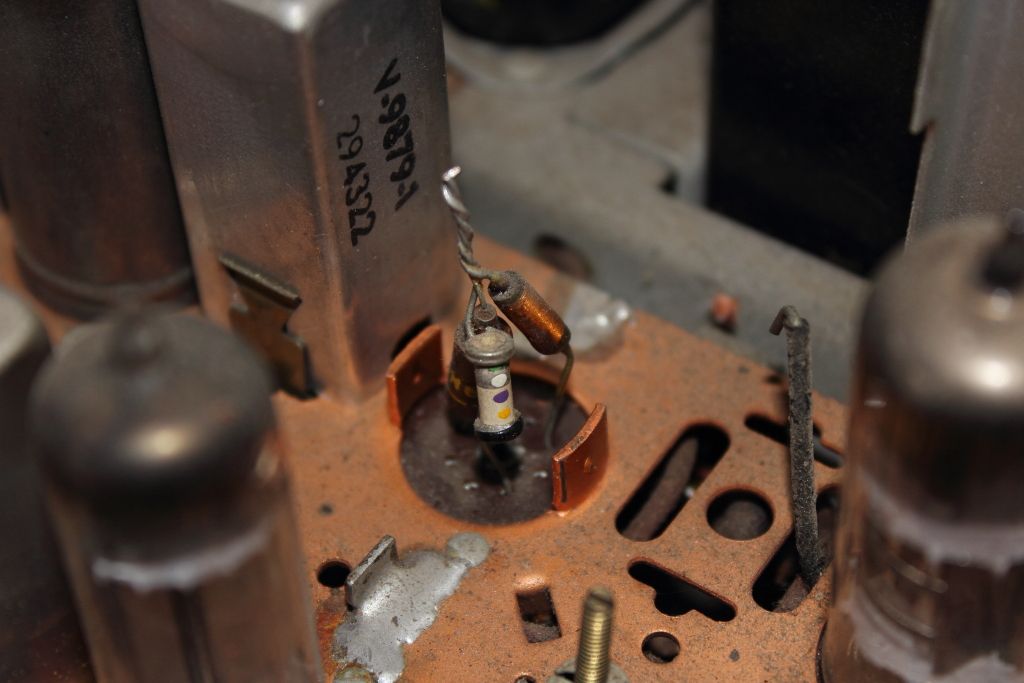
Oh shoot.
Before I removed the picture tube I marked the location of the ion trap and totally forgot the marking was there when I cleaned the neck and it rubbed off. A previous photo gives me a vague idea where it used to be but does it need to be precisely positioned or can a rough replacement using the image above be fine? I've also ordered in a new set of caps. With the exception of a 475v 20mfd cap that we could not find an immediate replacement for and and a few others had to be substituted with slightly higher voltages. I'll start the recap the next time I get some time off. I alos had to put my tube checker on loan for a few months along with my stockpile of tubes so we'll have to hope that everything is fine and dandy when I bring the set up on the variac.
|
|
#27
06-30-2014, 11:47 AM
|
|||
|
|||
|
Quote:
|
|
#28
07-02-2014, 04:38 PM
|
||||
|
||||
|
Ran out of solder and capacitors. I swear I ordered enough......
 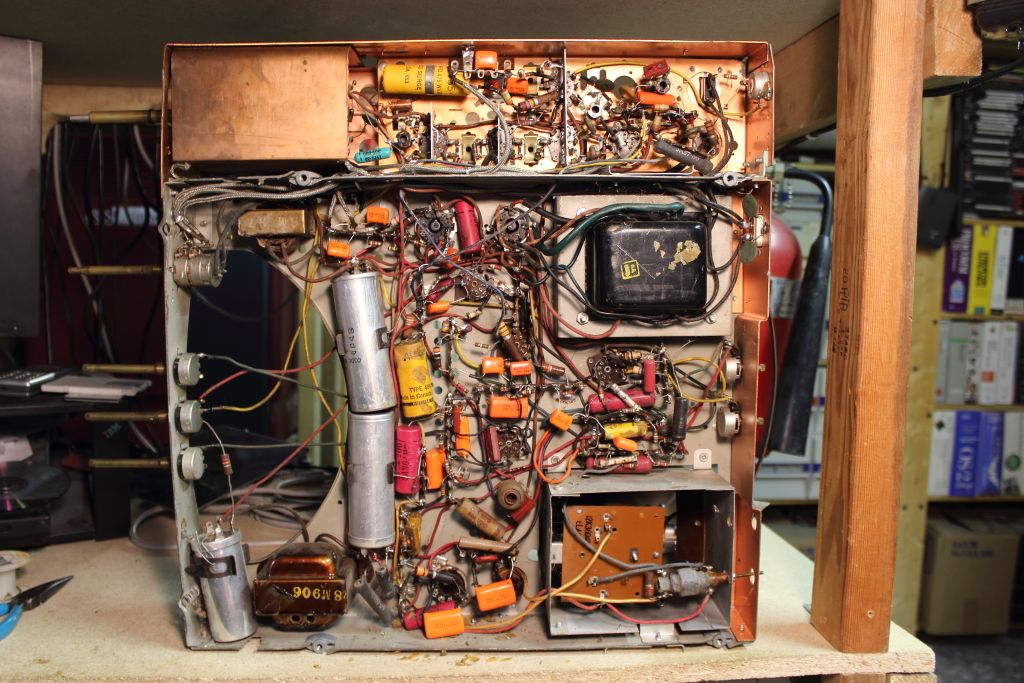 I'll have to order the rest in, otherwise the job so far has not been too painful. Again, I'm leaving the original red Sangamo caps because I've been told they aren't as prone to age related failure. While I'm on the bench, does anyone know which pin is CRT anode output on the 1B3GT so I can reattach the cable?
|
|
#29
07-02-2014, 06:14 PM
|
|||
|
|||
|
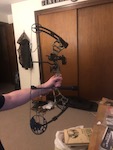
Looks like a VM changer, youl should be able to match the idler to the pictures and dimensions on the VM website. The VM site also tells you how to look for the number of your changer. If the idler does not seem to be getting enough traction, often theres old hardened grease thats causing the drag on the motor to be too high.
|
 |
|
|


 Linear Mode

