
|
|
|
#1
 07-05-2013, 10:43 PM
|
||||
|
||||
|
Motorola VT71MB-A restoration
I decided to spend my day off from work working on one of the 7" Motorolas I won recently at the Elli Buk auction.
I really thought I would just be parting the mahogany set out but upon closer inspection, it was actually in pretty darn good condition. Sure, it's missing the plastic front, metal bottom and all the knobs, but otherwise looks fine. A couple weeks ago, I attempted a slow power up of this set and actually got some sound but no raster. 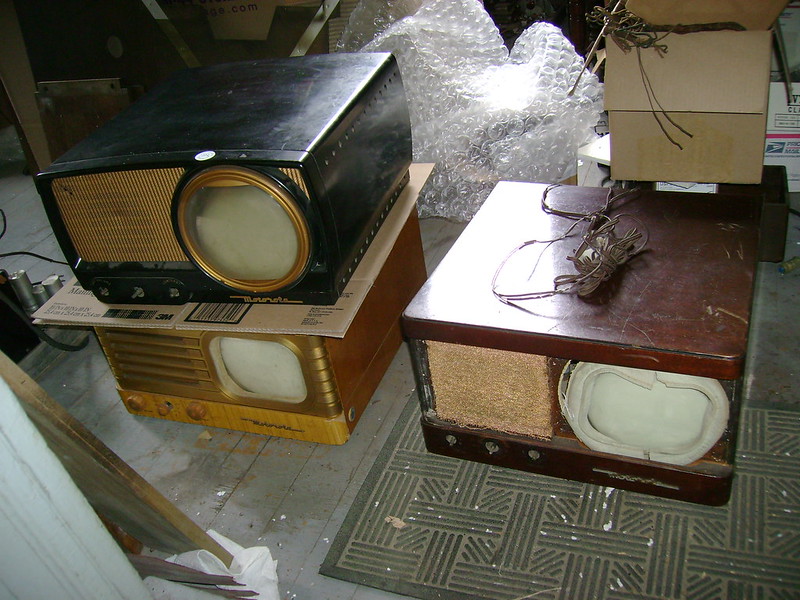 Here's a closer look up on the workbench.  Why do they always use those darn stickers that leave residue on the old finish     It's dirty, but no corrosion.  HV coil looks OK.  I only see a couple replaced HV capacitors. 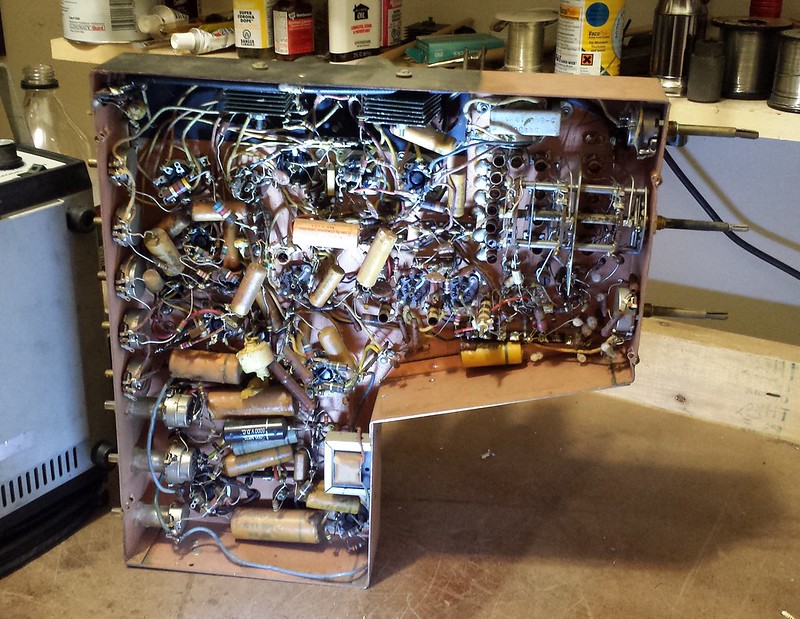

|
|
#2
07-05-2013, 11:14 PM
|
||||
|
||||
|
I wasn't planning on restuffing the caps, but when I cleaned the wax off and saw the nifty blue font against the orange tube, I changed my mind.
I know it would be more authentic to leave the caps coated in wax, but they just looks too nice all cleaned up I think.   Good times  I used brown hot glue to seal the new caps in the old tubes. Here are the new HV caps installed.  I cut open the electolytics for restuffing too. I was surprised to see this single section 120uF @ 150volt was stamped as a dual 20uF @ 400.  
|
|
#3
07-05-2013, 11:43 PM
|
||||
|
||||
|
After replacing the electrolytics and HV caps, I decided to try a power up.
It also gave me a chance to try out my newly acquired Sencore PR57. All it took was a little tweaking to get a stable image.  That encouraged me to complete the recapping. The "mighty midget" cap took a little more work. I carefully unknurled one end, slid out the metal cap, cut it in half and stuck a new cap inside.  Finally, here it is completely recapped. 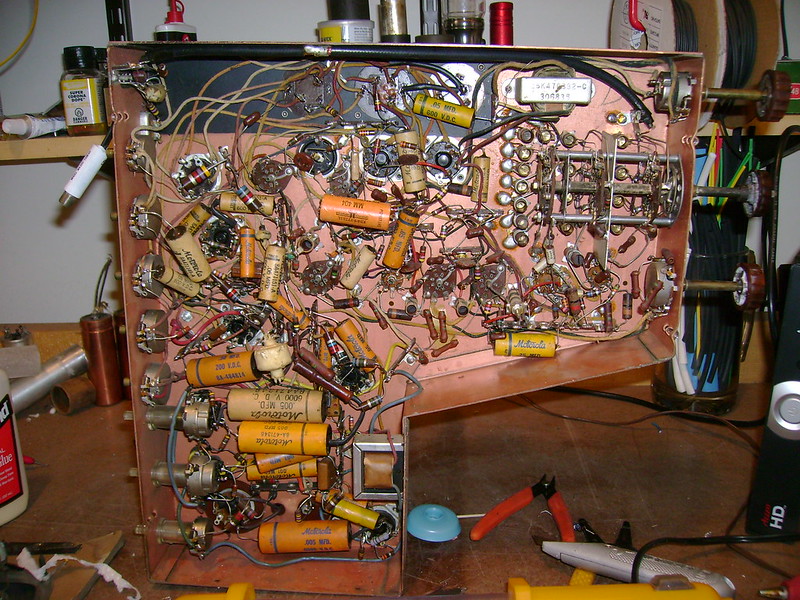 It works fairly well, but I can't tune both good sound and video. I figure an alignment will help with that.  
Last edited by bandersen; 07-07-2013 at 07:47 PM.
|
|
#4
07-06-2013, 08:00 AM
|
|||
|
|||
|
Bob, the fact that the 7JP4 is good is an incentive to continue. For that matter, you could stuff the restored chassis in your blonde cabinet possibly and attend to that chassis later.
I have five of these little guys. I will ultimately get three going since I have a channel 1, a mahogany (restored) and the blonde. I did get three of the CRT masks from Ed. But right now, he isn't making any more, so that can be a stumbling block for the quality of restorations that you are doing. One issue that I had that was nailed down quickly by suggestion of a member of ARF was the 1N34 diode was open; no picture. It took some looking but it was inside of the metal can on the chassis. Sure you have been there. Good job as usual and thanks for sharing. I realize taking, posting and linking pictures does take time not to mention the actual restoration!
|
|
#5
07-06-2013, 10:54 PM
|
||||
|
||||
|
That CRT on the bench is a spare. I haven't actually fired up the CRT in the cabinet yet. I did test it on a CR70 and it appears to be good.
I now have a plastic faceplate thanks to Eric H  I haven't decided what to do about the mask. I've received some suggestions about rolling my own with silicon rubber or possibly have some made by an outfit like http://steelerubber.com/ I haven't decided what to do about the mask. I've received some suggestions about rolling my own with silicon rubber or possibly have some made by an outfit like http://steelerubber.com/ The original finish is cleaning up nicely with GoJo, Naptha and Howard's Feed-n-wax. 
Last edited by bandersen; 07-06-2013 at 11:15 PM.
|
| Audiokarma |
|
#7
07-07-2013, 12:41 PM
|
||||
|
||||
|
Thanks. Here's the cleaned and waxed cabinet plus a repainted the logo. Later I may touch up the control panel and apply new decals. I need to dig up a brown fine tuning knob too.
The picture is rather poor so I'll keep tinkering. 
|
|
#8
07-07-2013, 04:21 PM
|
||||
|
||||
|
I just ran through a quick alignment. The 4.5MHz audio coils were off quite a bit. The overall response need a little tweaking too, but the real culprit was the oscillator, RF and antenna coils.
 I found some penciled in channel #s so probably someone had been mucking around with them.  That's better 
Last edited by bandersen; 07-07-2013 at 06:33 PM.
|
|
#9
07-07-2013, 07:16 PM
|
||||
|
||||
|
Nice work(again). Picture looking much better after alignment. I honestly don't know how you keep knocking these sets out so efficiently, I mean you're like a machine.
 At the rate you restore sets I'd of burned out years ago. And the thoroughness of your restorations just keeps getting better and better. You obviously really enjoy what you're doing, and it really shows in the end product. At the rate you restore sets I'd of burned out years ago. And the thoroughness of your restorations just keeps getting better and better. You obviously really enjoy what you're doing, and it really shows in the end product. 
|
|
#10
07-08-2013, 03:16 PM
|
||||
|
||||
|
FAN-FREAKIN-TASTIC job as usual... Wish i could get back in the swing of doin this, Got a few lying around waiting... just cant seem to get motivated lately...
SR
|
| Audiokarma |
|
#12
07-08-2013, 03:51 PM
|
||||
|
||||
|
Thanks guys. Currently, I'm working from home so I still have some energy left after work for these old sets. Much better than sitting in traffic
 Last night I did a little ballast experimenting based on the ideas in this great thread Left to right - Clarostat replacement, JFD OEM, Amperite replacement and homebrew with capacitors.  I also made one with diodes and both work just fine. The basic trade off is that the capacitors run cooler, but are bigger and more expensive than diodes + resistors. Also, adding 100K bleeders as Reece suggested is a very good idea. While tinkering with the caps, I got a heck of a spark when a tool shorted one out long after power had been turned off. Glad it went through the tool and not me  Also, note that the two filament strings are not equal if you added them all up - 75.4 vs 81.7 for a TS-4J late. That's why I have different resistor values in series with the diodes. I also designed these for 125 VAC rather than 117VAC. 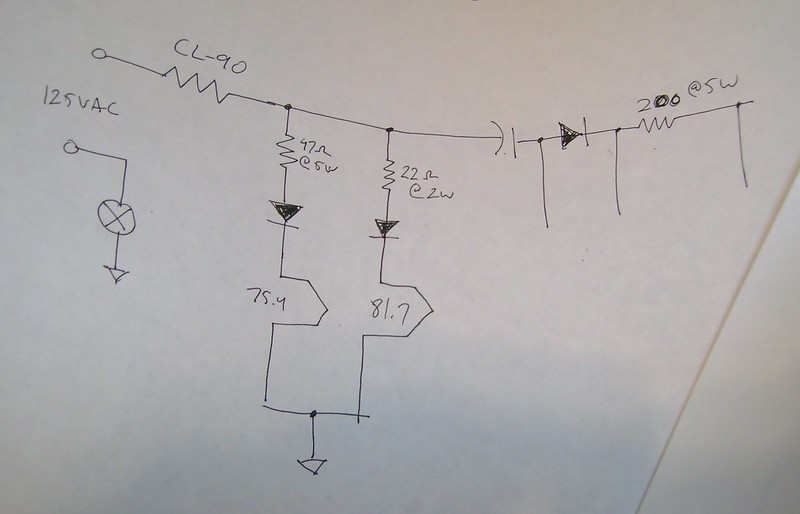
Last edited by bandersen; 07-08-2013 at 04:11 PM.
|
|
#14
08-16-2013, 11:54 AM
|
||||
|
||||
|
Thanks. I decided to do something about the deteriorated decals. Curious how you can see the outline where some have worn away. I would have expected the decals to be applied over the toner ?
 I carefully scrapped away the remaining decals, touched up the lacquer and applied new decals from Radiodaze. Once the decals are fully dried out, they were buried in a few layers of lacquer with sanding in between until the edges disappeared. 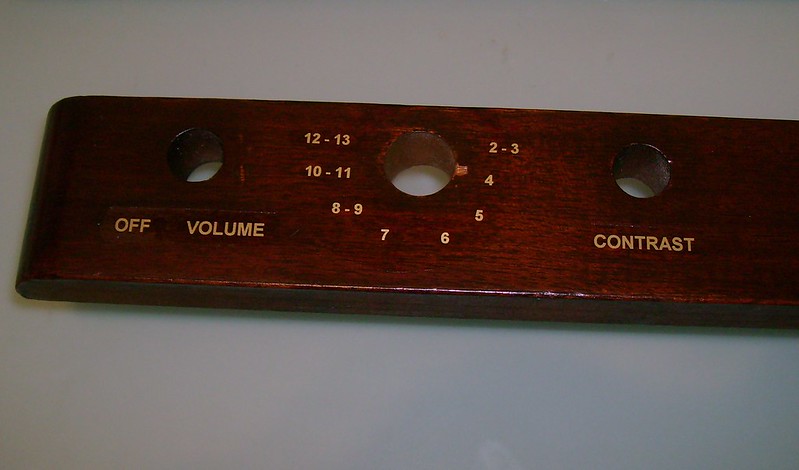 The knobs are a bit mismatched but fit well. Someday I'll do something about the mask. I also see that the chassis needs to be shifted to the left a little so the knobs will be centered over the decals better. 
Last edited by bandersen; 08-16-2013 at 11:59 AM.
|
 |
|
|


 Linear Mode

