
|
|
|
#226
 05-20-2018, 06:37 PM
|
||||
|
||||
|
Quote:
Here are the frames Wayne noticed.  

|
|
#227
05-20-2018, 06:40 PM
|
||||
|
||||
|
Quote:
|
|
#228
05-20-2018, 06:40 PM
|
||||
|
||||
|
On second thought, the two screens are at different vertical positions in your video frame, and this combined with the camera's rolling shutter could cause different hum bars.
So, do you see any of this hum bar with the naked eye? If not, forget it, it's purely a camera issue.
|
|
#229
05-20-2018, 06:41 PM
|
||||
|
||||
|
Quote:
|
|
#230
05-20-2018, 06:48 PM
|
||||
|
||||
|
Me too, all the time.
I definitely see the blue bar in the video, but I can’t see the blue or yellow bar live. Pretty sure it’s the camera. In fact, when shooting the stills in the viewfinder and it’s processing, I can see the yellow bar. I try to mitigate, by shooting multiple shots. I’m using aprature priority, auto white balance and ISO. I’ve tryed different speeds. Seem to get best results at 1/30, 1/40.
|
| Audiokarma |
|
#231
06-03-2018, 04:17 AM
|
||||
|
||||
|
So I decided to look into the the DC restoration issue today. As it turned out, it was the cameras fault, not the TV. I was not seeing the blue push that the photograph showed. I adjusted the white balance to what I was seeing on the screen. It was set to auto, and we changed it to shade which better matched the actual colors on the screen.
The first shot is the one posted earlier and commented on. The second shot was from today after adjustment. All shots original size 6000X4000 reduced for posting here. The yellow straw hat is influenceing the skin tone.   Im also posting some test shots from the Video Esentials disk using the new white balance setting.      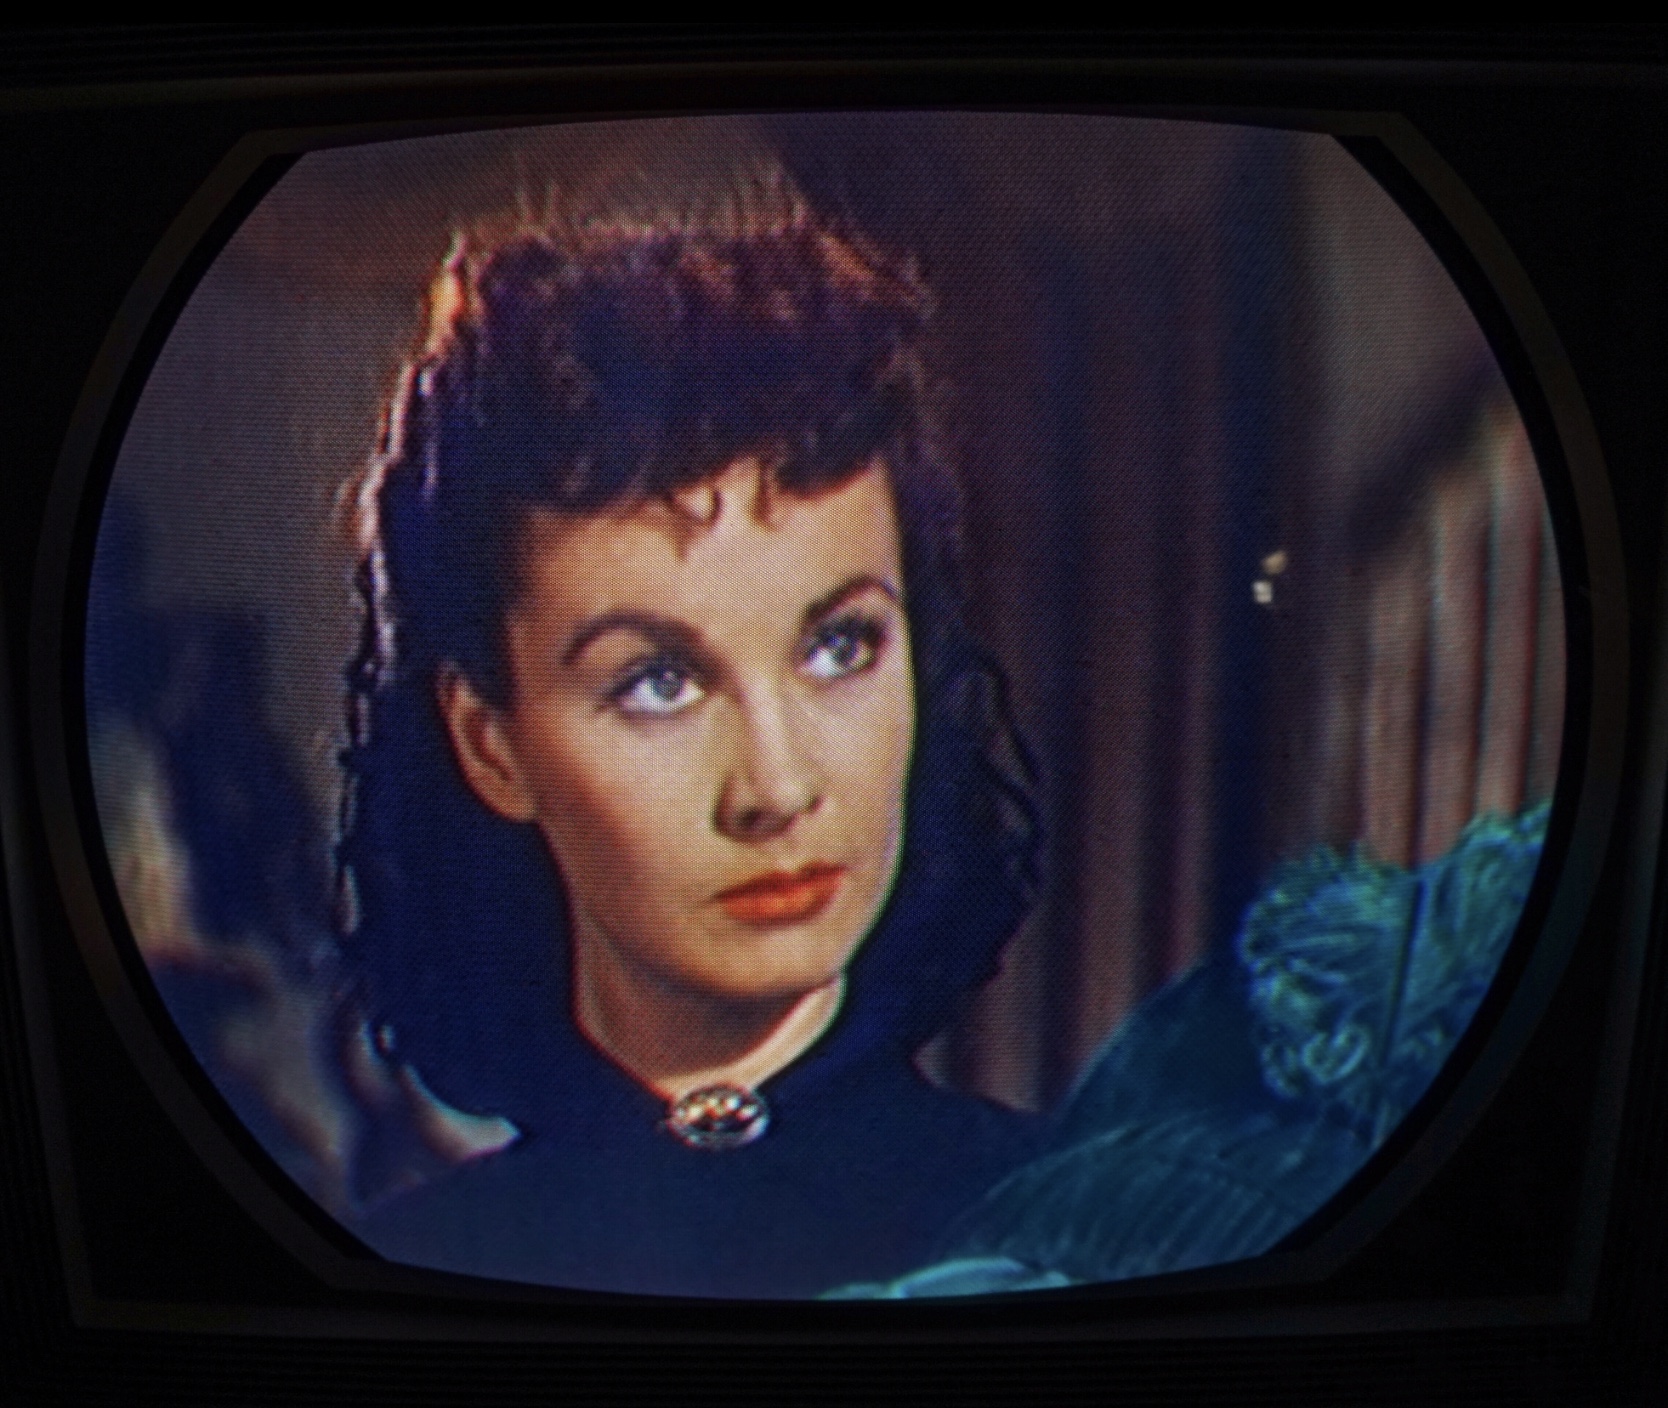
Last edited by etype2; 06-04-2018 at 02:15 PM.
|
|
#232
06-03-2018, 10:43 AM
|
||||
|
||||
|
Very nice
|
|
#233
06-05-2018, 03:36 AM
|
||||
|
||||
|
Back in the day, I used an analog Nikon 35mm SLR. In those days the camera did not have ISO settings or white balance settings. Film was generally slow, so one wanted a lens with an aperture that allowed the most light to strike the film such as 1.4. You bought fast film and high ISO ratings.
I havent operated that camera since 1998. Been using cell phone cameras. Recently my wife gifted me with a nice DSLR, mirrorless, APS-C sensor, with interchangeable lenss. Its been a learning curve adjusting to all the settings available. Case in point, white balance. What I learned, check the white balance of the subject your shooting. :-) The sweet spot or maximum focus of my lens based on an Aperture of 3.5 is supposed to be about F9. So today, I tried that setting on the 21CT55, but all the shots turned out lousy. From the old days of analog, shooting through the center of the lens (stopping down or closeing the lens) was usually the sharpest. A lens is curved so you have distortion at the outer edges of the lens. Sony used this anolgy effectively in advertising in 1968 with their one gun, one lens Trinitron. I found F16 worked the best for screenshots. I think Ive got it right? Ive attached two sets of comparison photos. You can see the blue push with auto white balance.  
Last edited by etype2; 06-05-2018 at 09:33 AM. Reason: Typos
|
|
#234
06-05-2018, 08:35 AM
|
||||
|
||||
|
Some things to worry aboyt using SLRs.
First, focus and saturation. The cameras will generally resolve the individual dots on a color CRT. This means that using autoexposure, which generally goes for average brightness, the brightest dots will very often overload, ruining color rendition in highlights. To avoid this, underexpose or use manual focus so the dots are just barely out of focus. Color balance is as you notice a problem. By choosing a setting you may be able to find one that looks OK. Otherwise, if you camera can save as "raw" files, you can correct perfectly in software. That's what I do.
|
|
#235
06-05-2018, 10:40 AM
|
||||
|
||||
|
Quote:
Still not fully comfortable with my camera, but I’m able to shoot “RAW” and need software to use it. Last edited by etype2; 06-05-2018 at 10:54 AM. Reason: Grammar
|
| Audiokarma |
|
#236
06-05-2018, 11:32 AM
|
||||
|
||||
|
Defocusing slightly doesn't make the auto exposure work differently. When you defocus, insted of imaging bright phosphor dots on some pixels and the dark spaces between the dots on adjacent pixels, you spread the bright dot over several nearby pixels so they see an average brightness that is more like the average that the automatic exposure sees.
Defocusing is tricky to do just enough that it prevents bright pixel overexposure but doesn't degrade resolution. As stated by DTVMcDonald, if you adjust the exposure towards a darker picture, it will help the very brightest pixels not be overexposed. However, if your picture is sharp enough to resolve the phosphor dots, this will mean the picture will look darker on average. Regarding white balance: if your camera provides a way to save a custom white balance, you could do that by turning the color down and capturing that setting on a black and white image. But I agree with the comment that the best way to handle this is to shoot in raw mode and adjust the white balance in software.
|
|
#237
06-05-2018, 11:45 AM
|
||||
|
||||
|
By the way, when you say "aperture 3.5" and "f/16" these are contradictory. The 3.5, I suspect, is the maximum aperture of your lens, but you are really stopping it down to f/16.
The best resolution of many lenses is around f/8 or so, but any aperture from f/4 to f/16 is probably good enough to resolve the phosphor dots. Since you seem to be keeping a shutter of 1/30 second while varying aperture, your camera must be automatically adjusting ISO. Using f/16 may be forcing the ISO higher than necessary, so I woud try f/8. Your camera seems to be doing a good job, but you might try full manual mode: Set ISO at perhaps 400 for starters; set shutter at 1/30; then see what aperture gives a good exposure. If you can't get a reasonable aperture with ISO 400 and 1/30 second, adjust the ISO to allow a reasonable aperture. The goal is to not use an unnecessarily high ISO, which introduces noise.
|
|
#238
06-05-2018, 11:57 AM
|
||||
|
||||
|
Thanks!
|
|
#239
06-05-2018, 12:08 PM
|
||||
|
||||
|
Something bothering me. I have an image on freeze frame. I take multiple shots until I eliminate the annoying yellow band. While doing this, the color balance seems to change with every shot. This was also happening with cell phone shots. Makes me lose confidence in my camera. While it’s not a $4K camera, it’s a decent pro-sumer camera. It’s probably the camera operator not understanding his camera?
|
|
#240
06-05-2018, 12:24 PM
|
||||
|
||||
|
Quote:
Does the problem on the Sony appear when you have the shutter speed set manually to 1/30, or is the camera possibly setting a different shutter speed? The light from the CRT scanning spot is brightest for only a few microseconds, but then trails off at different rates for the three primary colors. The only way to get the same exposure for all three colors everywhere on the screen is to have the shutter open for exactly an integer number of frames of 1/30 second each. If your shutter captures some number of frames plus or minus a fraction, you will see the different trail off of light output from each phosphor color. Edit: in a camera with a physical shutter, this effect is so abrupt that it will cause a dark "shutter bar" across the part of the picture that didn't get a full frame of exposure.
|
| Audiokarma |
 |
|
|


 Personal website dedicated to Vintage Television


 Linear Mode

