
|
|
|
|
|
#1
 05-22-2010, 02:24 PM
|
||||
|
||||
|
Back working on the cabinet again, I got the veneer from Rockler. It was rolled up in the box and had some ripples and splits, which is often to be expected with the thin "raw" veneer with no backing. In order to flatten it I painted it both sides with a solution of one part glycerin (drug store,) one part denatured alcohol, and three parts water. Then I clamped it overnight between boards with several layers of paper towels on both sides of the veneer. Next day I changed the towels and left again for several hours. It came out "ironed" pretty flat.
I laid the plywood top on it and traced around it. I cut out the veneer with scissors and utility knife oversize so it could be trimmed exactly after installation. Then I painted the wrong side of the veneer and the top of cabinet top with three coats of slightly thinned yellow wood glue, allowing to dry between coats, and then to dry overnight. Next day I put the veneer and plywood top dried glue sides together and pressed with a medium-hot iron using a piece of brown paper between the iron and veneer. You have to press hard all over and keep moving the iron. It works! The veneer stuck nicely. Unfortunately there was a little split down the middle of the veneer that didn't close up, but I later filled it with some Elmer's colored wood filler and it looks like it almost disappeared. I sanded and shaved and fit the new top onto the radio cabinet and finally glued and clamped it into place. Then the whole cabinet was sanded and grain filled (another overnight wait), sanded again and stained with a mix of cherry and dark walnut. 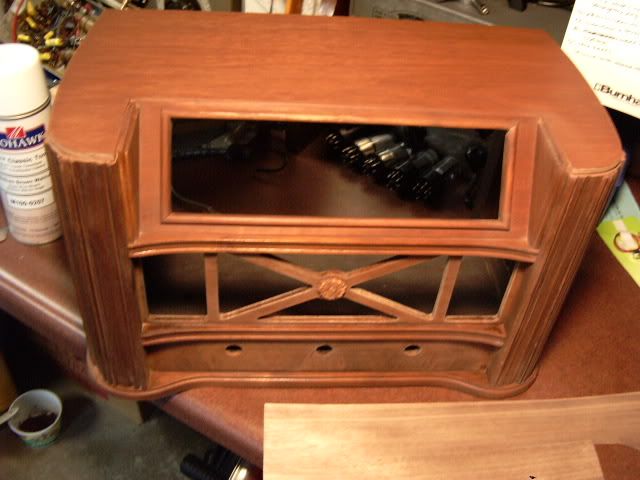 Next was a spray of three coats of Deft Sanding Sealer, which dries fast. Now it was time to place the decals. These I made by a process using a special decal paper and embossing powder. You make up a design or text on the computer and then print on this paper using the best print setting, to get the most ink on the paper. The surface of the paper is such that the ink doesn't dry fast. As soon as it comes out of the printer, you pour on embossing power in the desired color, in this case, gold. The powder sticks to the ink. Then you pour off the excess powder back into the container for further use. The decal goes into the toaster oven set to broil. At some point the murky blackish powdery text magically turns to gold. The text has a slightly raised surface, like some business cards (made by a similar process, I believe.) The first picture below shows the finished decals before cutting apart. 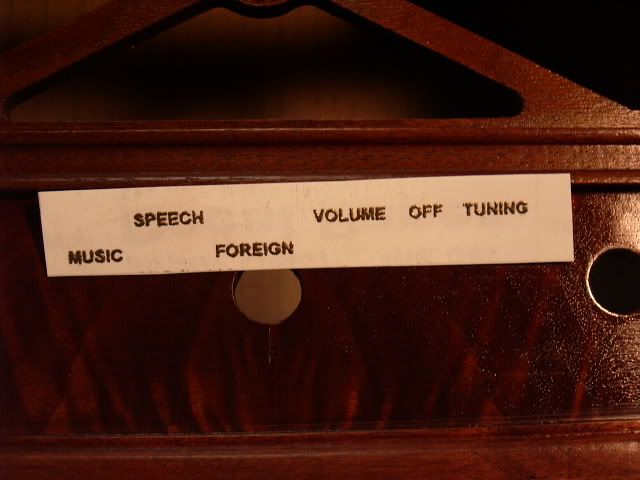 Here are the decals applied. 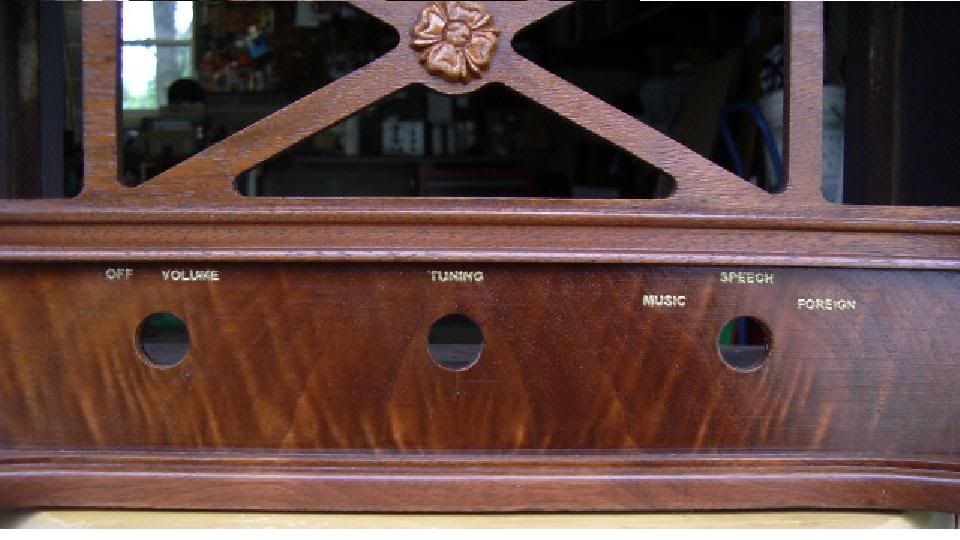
__________________
Reece Perfection is hard to reach with a screwdriver. Last edited by Reece; 06-26-2010 at 02:27 PM. 
|
|
#2
06-03-2010, 12:33 PM
|
||||
|
||||
|
Quote:
You've really got me thinking with that embossing powder. I have several cabinet that were refinished by someone else that obliterated the gold decals. I was considering having custom decals made but that's really expensive. What powder did you use and where did you get it ? Thanks.
|
|
#3
07-22-2010, 01:13 AM
|
||||
|
||||
|
Quote:

|
 |
|
|


 Hybrid Mode
